Hitta rätt golfklubb

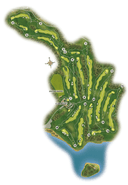
Banguide på Alcanada
Klicka på banan för att se alla hål, banöversikt, fotografier m.m.
17 HÅL - PAR 68
Alcanada
Om Alcanada
Klubbfaciliteter
Kontaktuppgifter
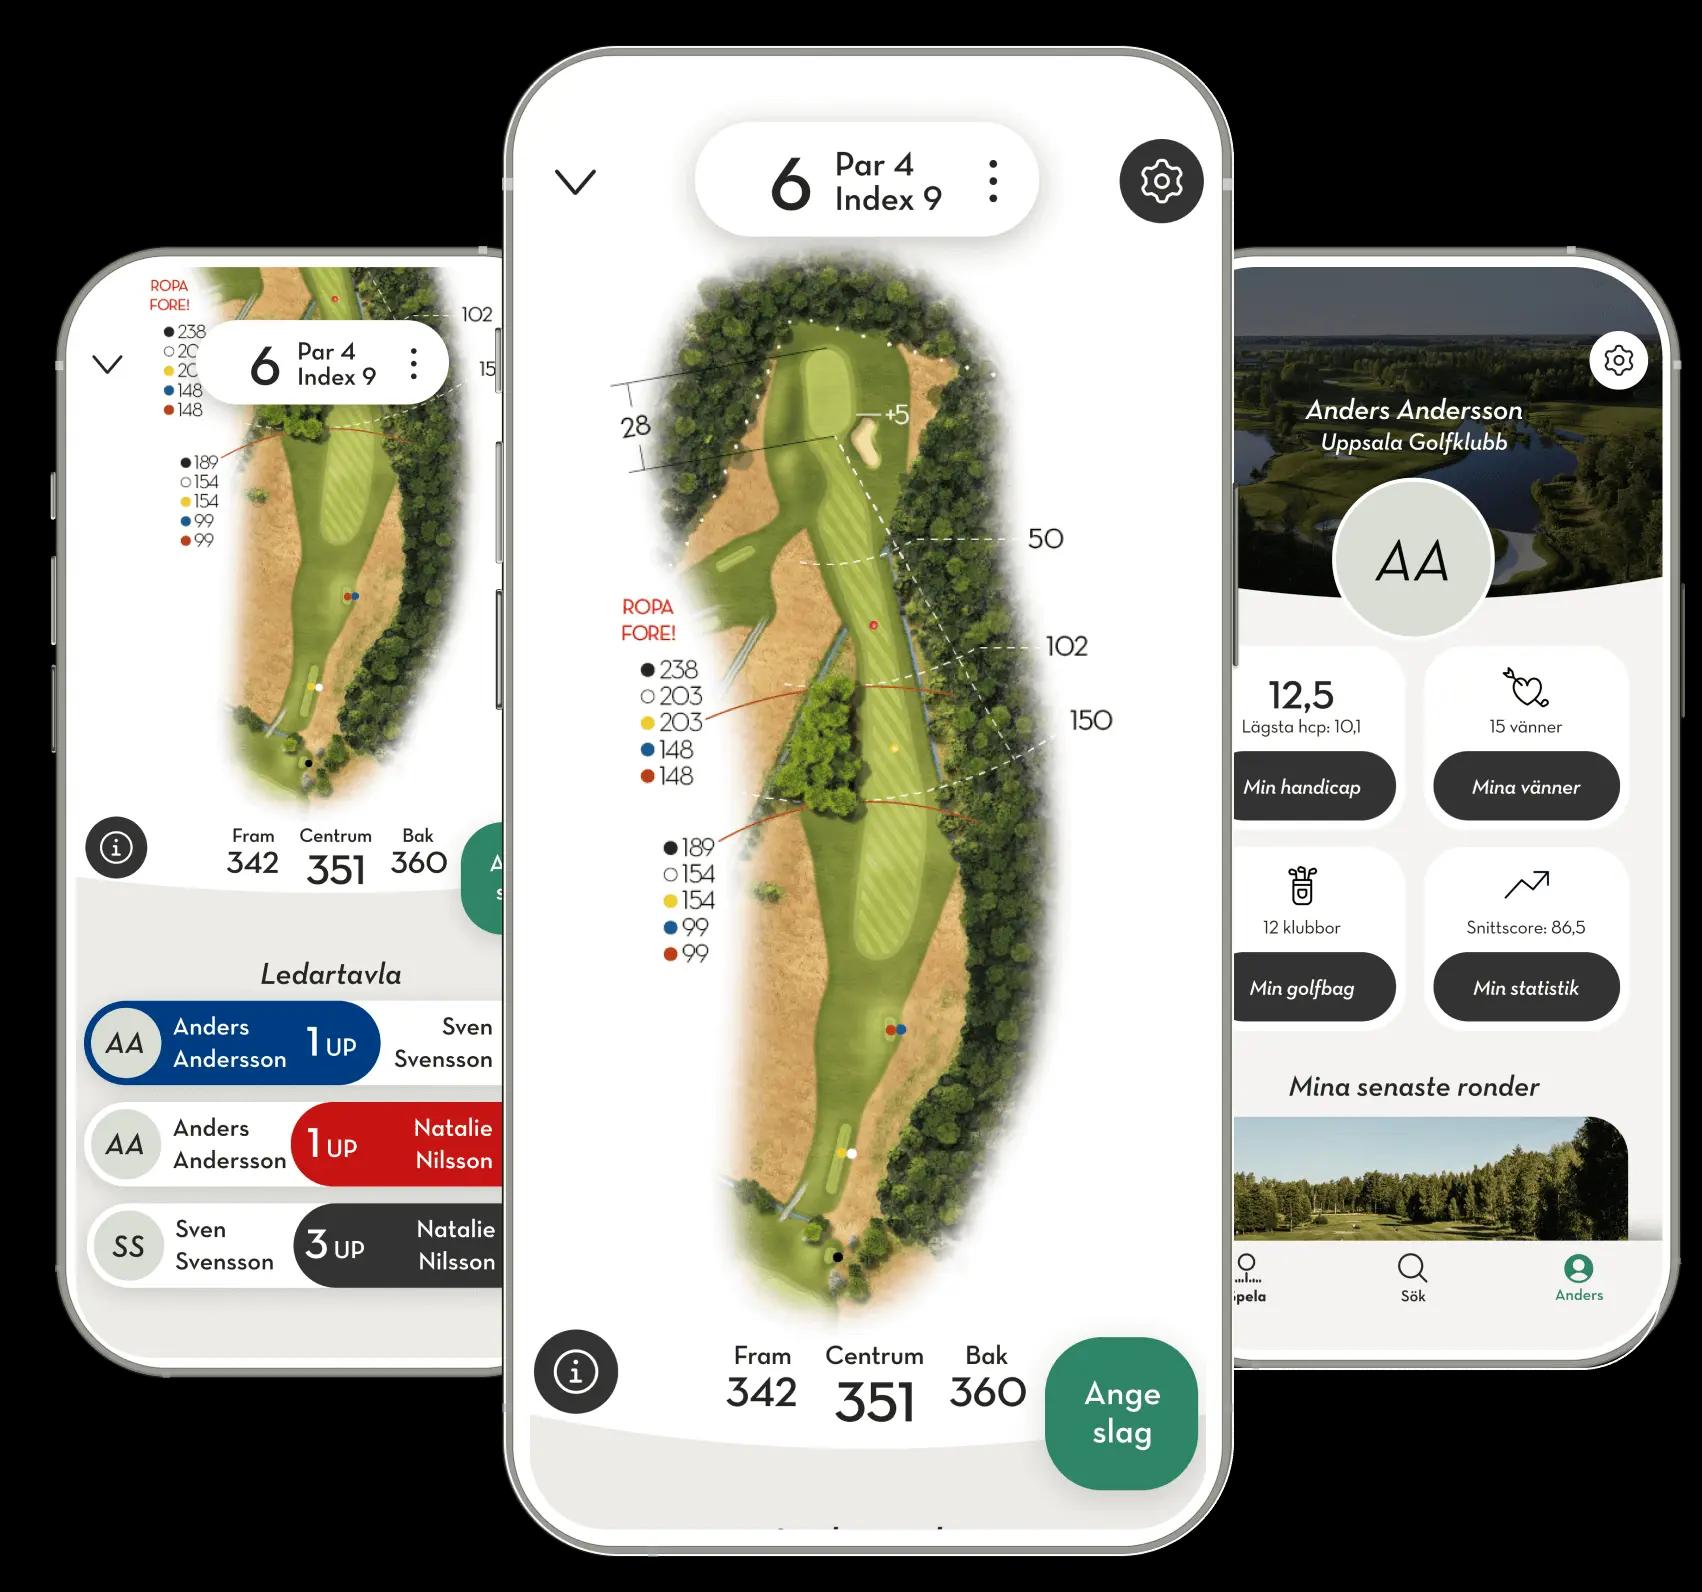
Caddee App
Ta emot och handicapregistrera ditt resultat från bollens markör. Se ännu fler gratis banguider. Testa premium och utmana dina vänner i match medan Caddee håller ställningarna. Dina tidbokningar hittar du som vanligt på startsidan och du kan skriva scorekort på alla Sveriges banor.
Vad passar dig?
Basic
Gratis
- Annonsfri användning
- Över 220 banguider från Caddee
- Scorekort med SHCP för hela Sverige
- HCP-registrering av rond
- Dina starttider från MinGolf
- GPS-mått till centrum av green
- Golfvänner
- Ta emot ditt resultat från bollens markör


Premium
39 kr/ månad
- Alla funktioner från Basic
- Alla svenska banor – ritade av Caddee
- Matchspel mellan alla i bollen
- GPS-mått till hela green
- Personlig statistik
- Verktyg för slaglängder
- Förslag till klubbval
- Eclectic på alla banor över året
- Anteckningar & fotominnen
- 14 dagars gratis provperiod
Premium är gratis för juniorer
Är du 01:a eller yngre?
Logga in i Caddee via appen och registrera ditt Golf-ID så får du automatiskt Caddee Premium - vi bjuder.